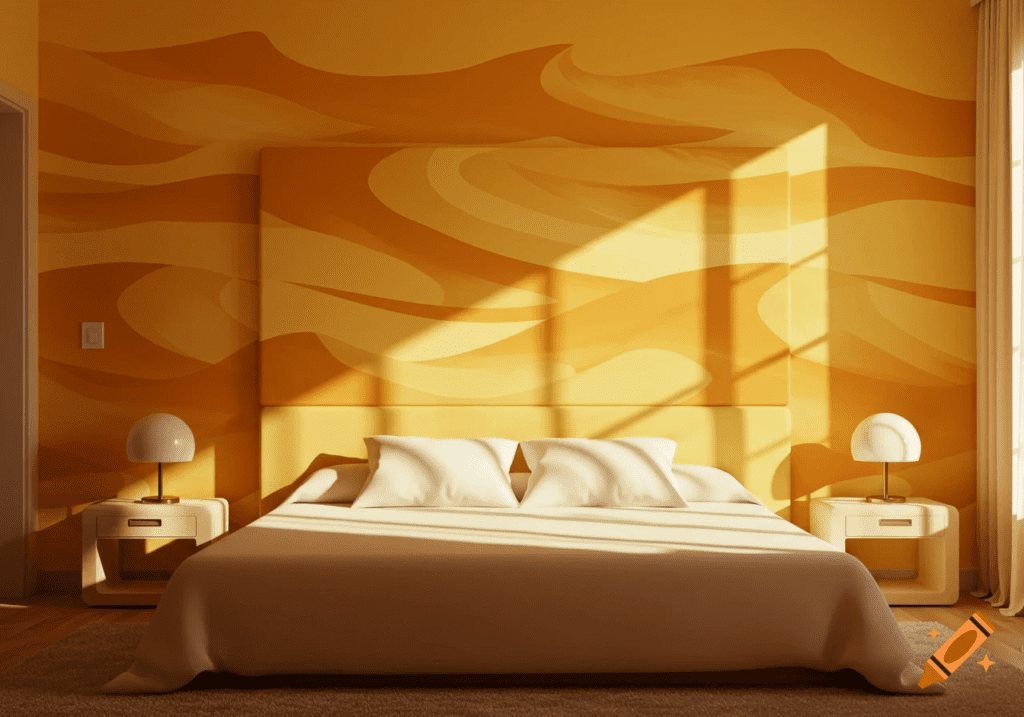
An ombre wall is not just a painted surface—it is an experience. It is where color slowly transforms, where light interacts with tone, and where craftsmanship becomes visible through subtlety rather than bold lines. When executed at an advanced level, an ombre wall does not scream for attention. Instead, it quietly elevates the room, creating a sense of calm, depth, and thoughtful design.
Table of Contents
Table of Contents
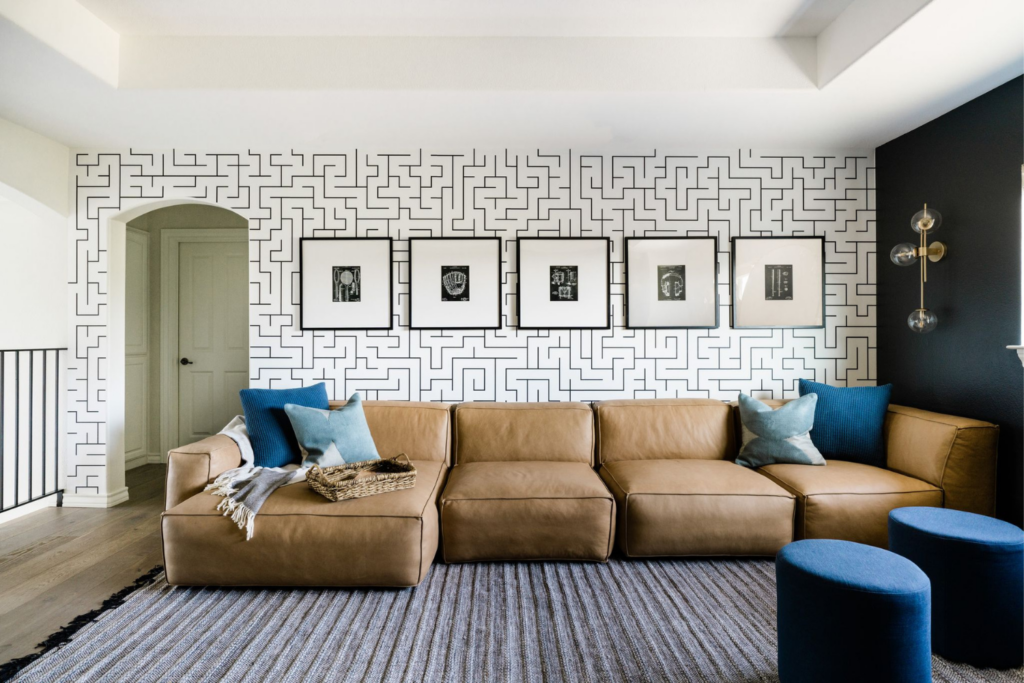
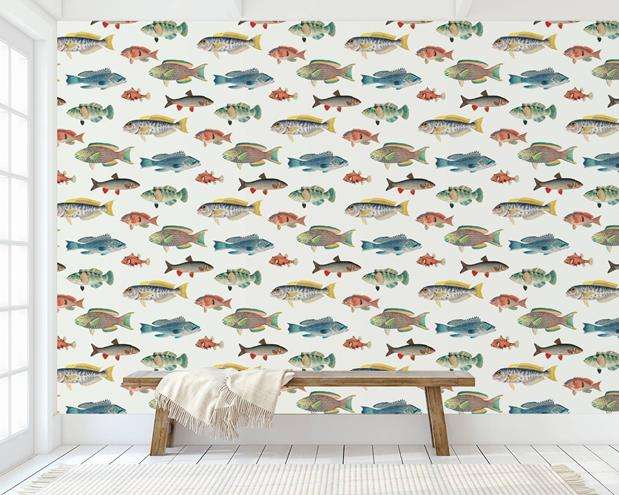
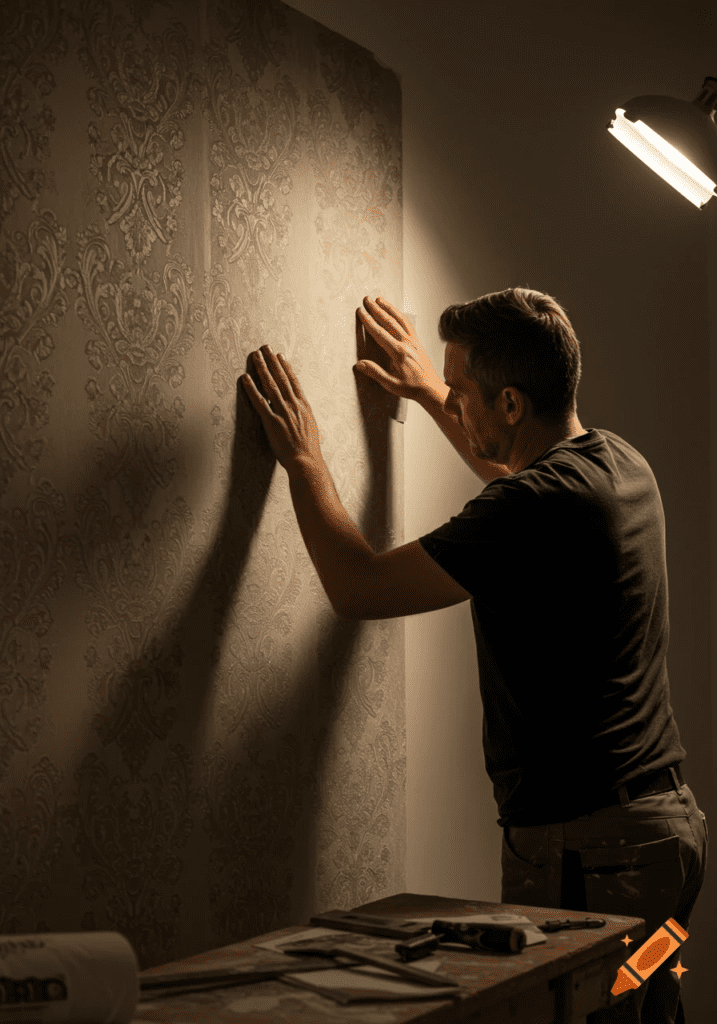
Many people attempt ombre walls using quick tutorials and basic techniques, only to end up with harsh lines, patchy blending, or uneven color distribution. The truth is, while the concept of an ombre wall seems simple, mastering it—especially with two colors and a sponge—requires a deeper understanding of paint behavior, surface texture, layering strategy, and visual balance. Beyond paint, wallpaper has emerged as a major trend in accent wall treatments — comparing both approaches can help you choose the right look for your space (see Wallpaper vs Paint Cost in 2026…).
This comprehensive guide is written for those who want to go beyond beginner results. Whether you are a serious DIY enthusiast, a design blogger, a stylist, or someone creating a refined living space, this article will help you truly master the art of the ombre wall.
The Philosophy Behind an Ombre Wall
Before discussing tools or steps, it is important to understand why ombre walls work.
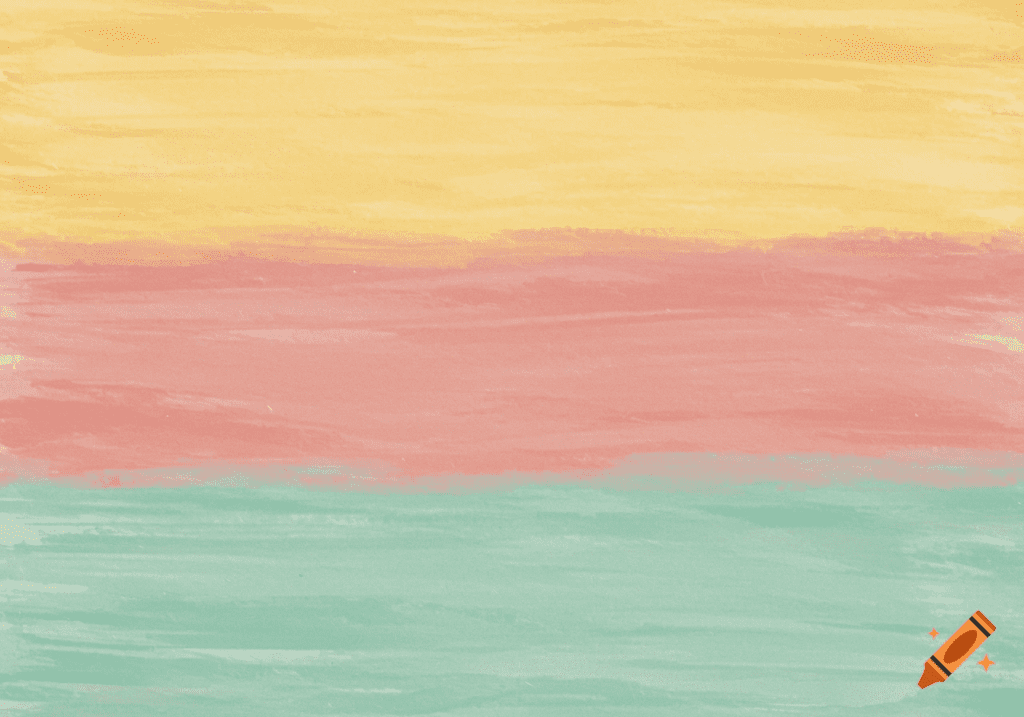
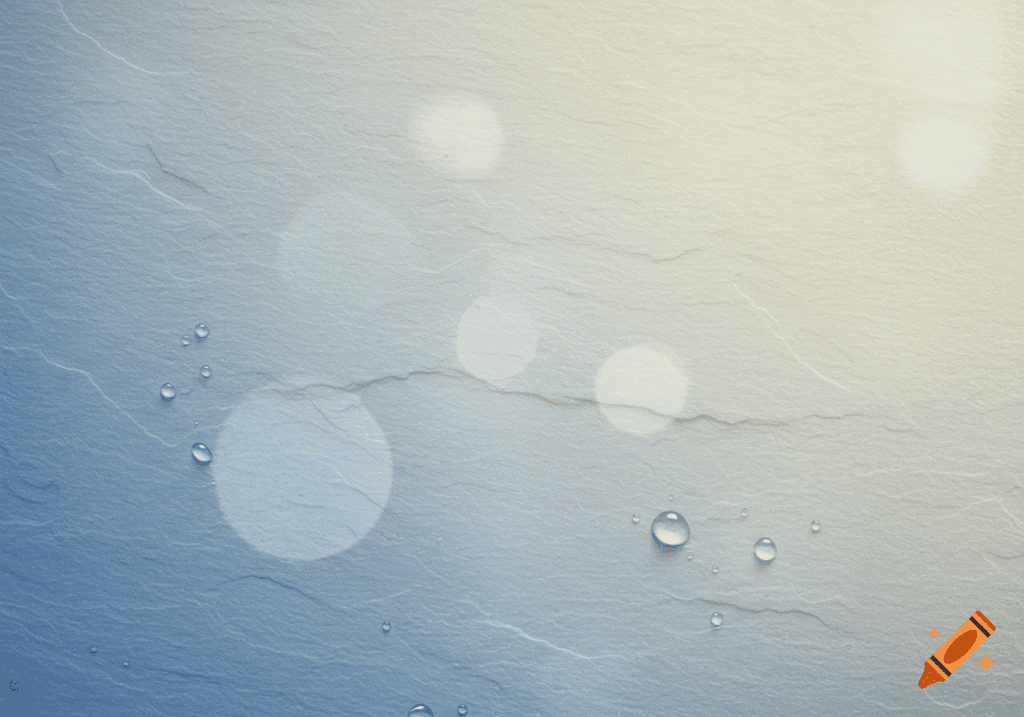
An ombre wall appeals to the human eye because it mimics natural gradients found in the world around us—sunsets, shadows, skies, sand, water, and mist. These transitions feel organic, calming, and familiar. Unlike solid color blocks, gradients guide the eye smoothly across a surface.
What Makes an Ombre Wall Feel “High-End”
- The transition is gradual, not obvious
- No single section dominates the wall
- The blend responds beautifully to light
- The wall feels intentional, not decorative
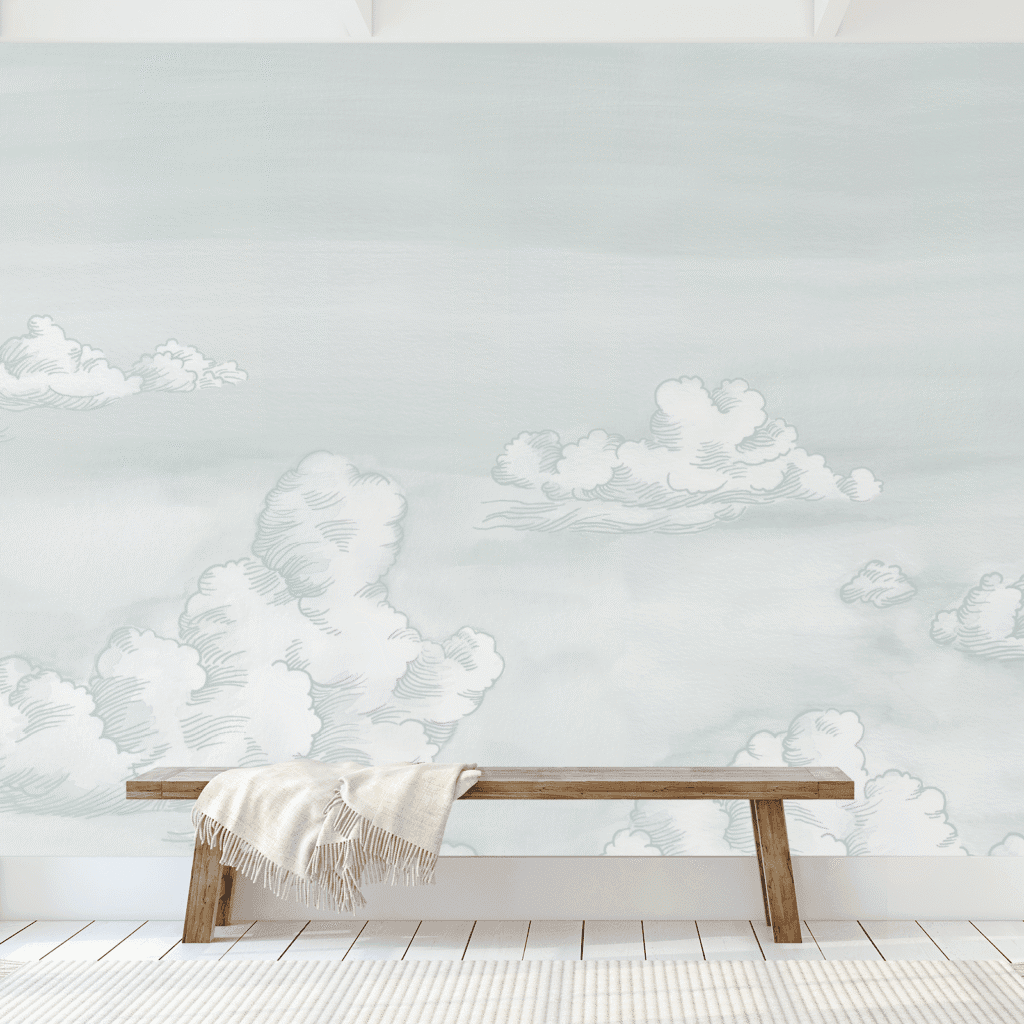
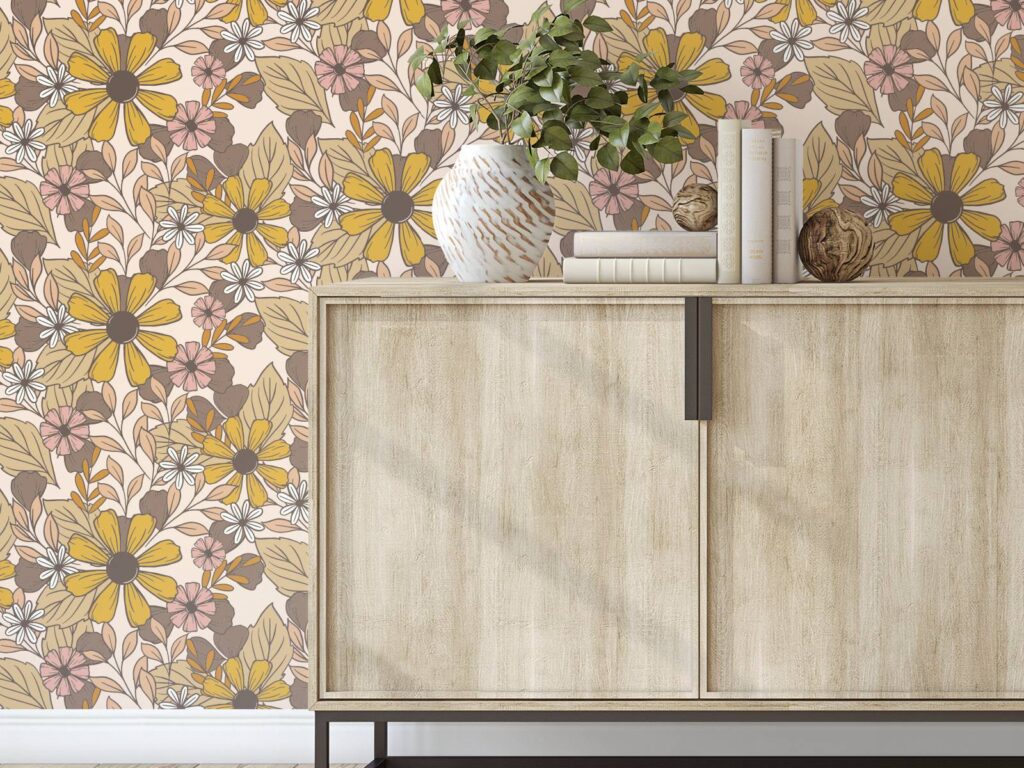
Advanced ombre walls are about restraint. They are designed to enhance space, not overwhelm it. If you prefer minimalist textures over dramatic gradients, Minimalist Interior Design with Wallpaper showcases calm, modern wall ideas that enhance space without clutter.
Why the Sponge Technique Is Superior for Advanced Ombre Walls
While rollers and brushes are useful for coverage, they lack the finesse required for advanced blending. The sponge technique excels because it allows controlled, organic layering.
How a Sponge Changes the Outcome
- Deposits paint in micro-layers rather than streaks
- Softens edges naturally without force
- Allows overlapping without muddying colors
- Makes corrections possible without repainting
Professional decorative painters often rely on sponges for gradient and faux finishes because sponges break uniformity, which is exactly what an ombre wall needs to feel natural.
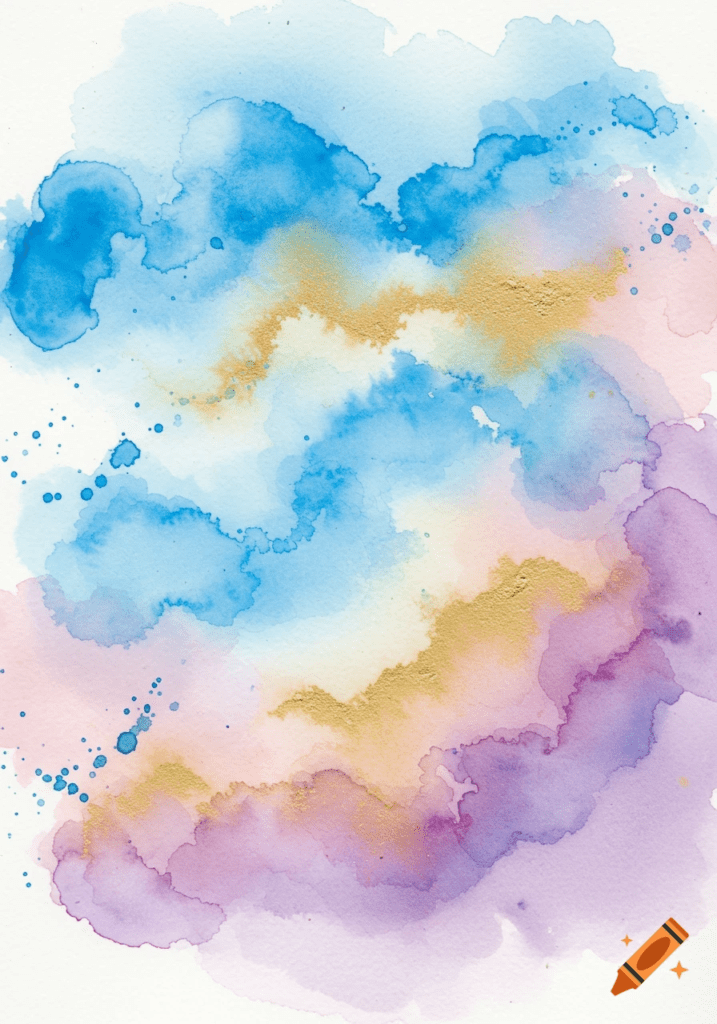
Advanced Color Theory for Ombre Walls
Choosing two colors is the most critical decision you will make. At an advanced level, this choice goes far beyond “light and dark.”
Understanding Color Temperature
Every color has a temperature:
- Warm: beige, cream, terracotta, warm gray
- Cool: blue, gray, mint, lavender
- Neutral: balanced mixes of warm and cool
For a successful ombre wall:
- Both colors must share the same temperature
- Mixing warm and cool tones creates muddy transitions
Saturation Matters More Than Contrast
A common mistake is choosing two colors that are too different in intensity.
Better approach:
- Same color family
- Different saturation levels
- Slight shift in depth rather than hue
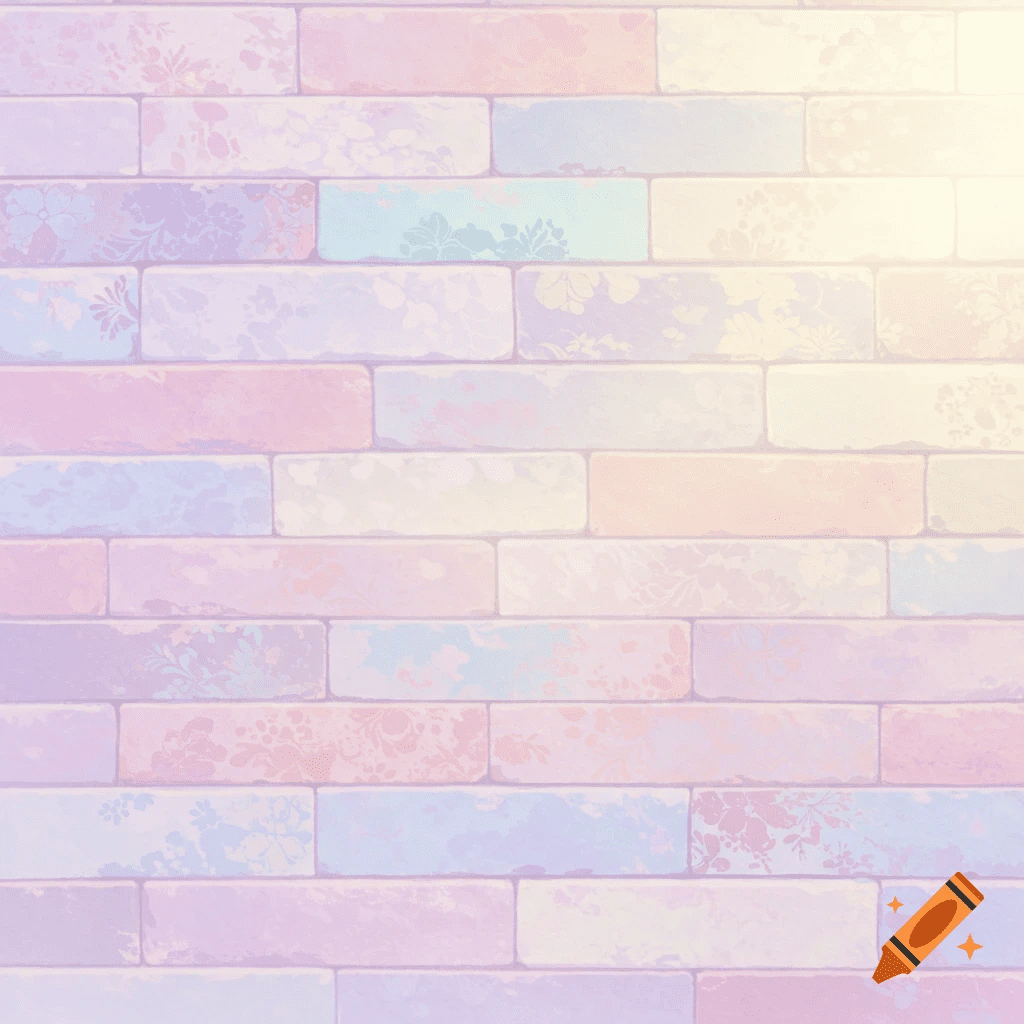
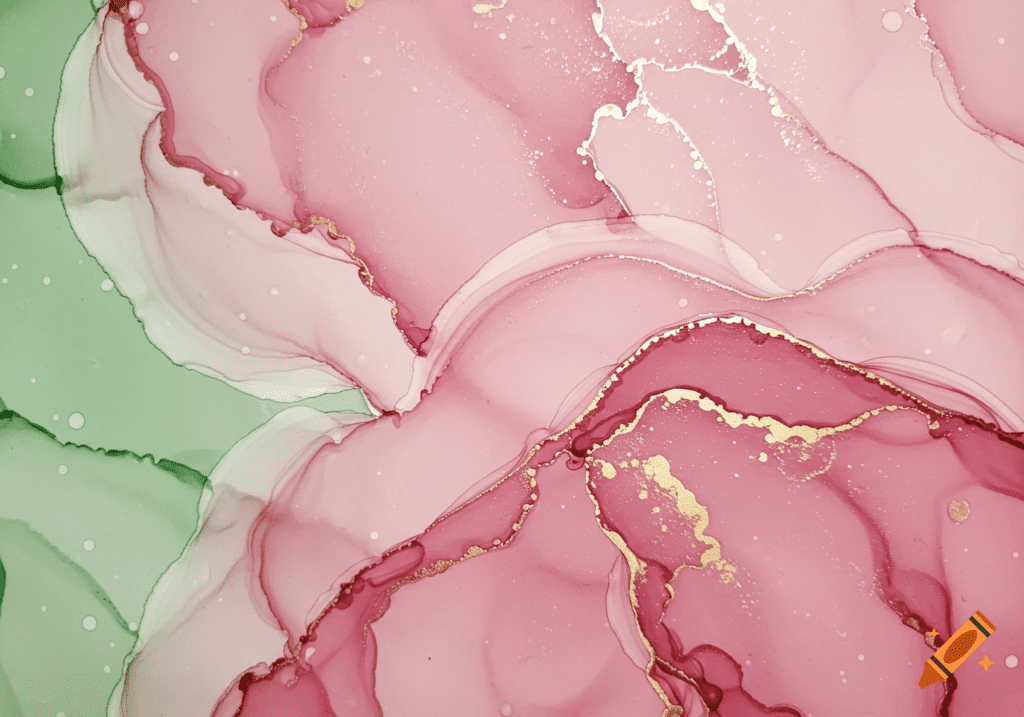
Advanced Color Pairing Examples
- Chalk white → soft limestone
- Pale taupe → mushroom brown
- Misty blue → slate blue
- Muted blush → clay rose
- Light sage → forest olive
These combinations allow blending without visible struggle.
Psychological Impact of Ombre Wall Direction
The direction of your ombre wall affects how the room feels emotionally and spatially.
Horizontal Ombre (Top to Bottom)
- Creates calm and grounding
- Feels natural and balanced
- Ideal for bedrooms and living rooms
Vertical Ombre (Side to Side)
- Adds movement and modern energy
- Works well in hallways and studios
Inverted Ombre (Dark to Light)
- Makes ceilings appear higher
- Adds drama without heaviness
Advanced designers choose direction based on how they want the room to feel, not just aesthetics.
Planning the Ombre Wall Like a Professional
Advanced results come from advanced planning.
Visual Zoning Strategy
Instead of one blending line, divide the wall into three conceptual zones:
- Dominant light color zone
- Dominant dark color zone
- Wide transition zone
The transition zone should be generous, often 30–40% of the wall height. This is where the magic happens.
Lightly mark these zones with a pencil—not as rules, but as guides. For another artistic direction beyond painting, Minimal Line Art Wallpaper Aesthetic for Modern Easy Walls Home explores elegant wall art that pairs well with soft gradients
Surface Preparation: Where Most Ombre Walls Fail
Gradients expose imperfections more than solid colors. Any bump, crack, or uneven texture becomes visible once blending begins.
Advanced Wall Preparation Checklist
- Degrease the wall (especially in kitchens)
- Fill and sand all imperfections
- Feather repaired areas smoothly
- Prime if changing undertone families
- Allow full curing time
Professionals spend more time preparing than painting—and for good reason.
Base Coat Strategy for Advanced Ombre Walls
The base coat is not optional. It is the canvas.
Why the Base Coat Must Be the Lighter Color
- Reflects light evenly
- Makes blending forgiving
- Allows correction without shadow buildup
Apply the base coat evenly using a roller and allow it to fully cure, not just dry.
Sponge Selection and Preparation
Not all sponges are equal.
Best Sponge Types
- Natural sea sponge (irregular texture)
- High-quality faux sea sponge
Avoid:
- Kitchen sponges
- Flat foam sponges
Preparing the Sponge
- Lightly dampen with clean water
- Squeeze thoroughly
- Blot paint before touching the wall
A sponge should feel barely moist, never dripping.
Applying the Darker Color With Control
At an advanced level, the darker color should suggest depth, not dominate. Renters or those seeking temporary options should also explore removable décor variations (see 5 Temporary Wall Decor Ideas for Rental Bedrooms).
Professional Application Tips
- Start farther from the transition zone
- Apply in scattered, uneven dabs
- Avoid repetitive patterns
- Use less paint than you think
Step back often. Distance reveals balance better than close inspection.
Introducing the Lighter Color Into the Blend
The lighter color acts as the softener.
Advanced Techniques
- Reduce pressure near the transition
- Let some base coat show through
- Feather edges gently
This creates transparency and depth, which are hallmarks of a refined ombre wall.
Blending Mastery: Where Skill Truly Shows
Blending is not about speed—it’s about awareness.
Advanced Blending Principles
- Always blend while paint is workable
- Rotate sponge constantly
- Alternate colors in quick, light passes
- Use a clean sponge for final softening
If you can clearly see the transition, keep blending.
Layering: The Difference Between DIY and Designer Finish
Luxury ombre walls are built in layers, not coats.
Advanced Layering Strategy
- Thin applications only
- Partial drying between layers
- Re-evaluate lighting after each pass
- Adjust saturation gradually
Layering creates richness without heaviness.
Lighting: Designing for Real Environments
Paint behaves differently under different light conditions. Rustic or farmhouse wallpaper designs add texture and character, providing an alternative to painted ombre finishes (see Rustic Farmhouse Kitchen Wallpaper Designs…)
Lighting Considerations
- North-facing rooms need warmth
- South-facing rooms amplify contrast
- Artificial light changes color temperature
Always view your wall:
- Morning
- Afternoon
- Evening
Advanced painters adjust blending based on real-life lighting, not theory.
Troubleshooting Advanced Ombre Issues
Even experienced painters encounter challenges.
Common Problems and Solutions
- Harsh bands: Feather with base color
- Patchy blend: Add micro-layers
- Too dark: Lift with lighter color
- Uneven fade: Step back and rebalance visually
Never repaint the whole wall unless absolutely necessary.
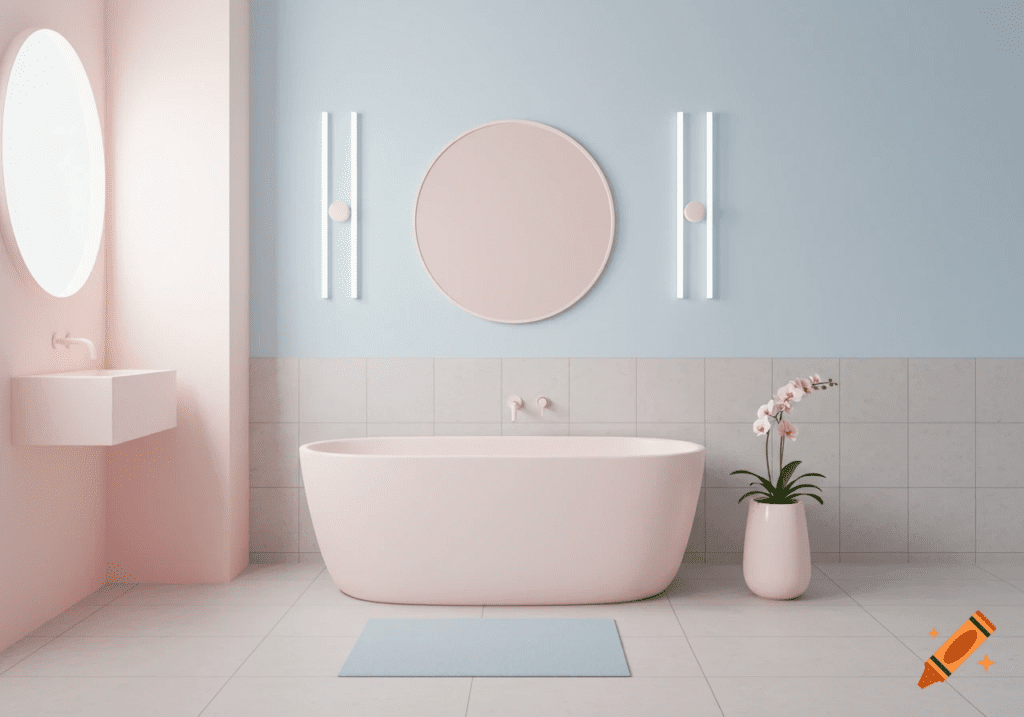
Room-Specific Advanced Ombre Applications
Living Rooms
- Neutral gradients
- Wide transitions
- Soft saturation
Bedrooms
- Calming tones
- Minimal contrast
- Horizontal fades
Nurseries
- Pastels
- Extra blending
- Soft edges
Home Offices
- Muted colors
- Vertical gradients
- Balanced light response
Each room demands a slightly different approach.
Long-Term Care of an Ombre Wall
An ombre wall ages beautifully when maintained properly.
Maintenance Tips
- Dust gently
- Avoid harsh cleaners
- Store leftover paint
- Touch up lightly with sponge
Proper care preserves softness and depth.
Why Ombre Walls Continue to Define Modern Interiors
Ombre walls remain relevant because they:
- Adapt to any style
- Feel artistic yet subtle
- Balance creativity with calm
They are expressive without being loud—something modern interiors value deeply.
Final Thoughts: From Painted Wall to Crafted Surface
Creating an advanced-level ombre wall using a sponge and two colors is an exercise in patience, observation, and restraint. It is not about forcing color onto a surface, but about guiding it gently into place.
When done correctly, an ombre wall feels effortless—even though every inch is intentional. It becomes part of the architecture of the room, not just decoration.
Take your time. Trust the process. Let the wall evolve layer by layer. Because a truly beautiful ombre wall is not rushed—it is crafted.